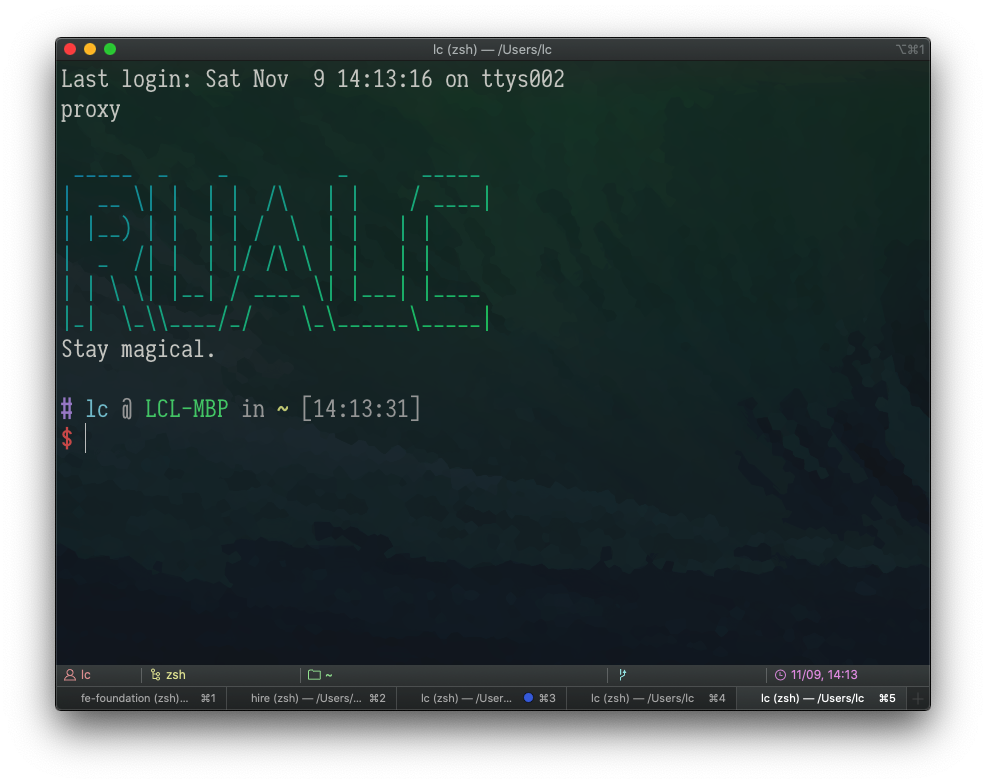
 打造趁手的终端
打造趁手的终端
# 代理(proxy)
在上一篇文章 命令行简介 中,我们提到代理有诸多好处,正确配置或能直接提高生产效率。给浏览器、软件、Terminal 或是其他工具配置代理,不同工具的配置方式可能不同。
对于 Terminal 来说是通过命令来配置(参考 Set HTTP(s) Proxy in Windows Command Line / MAC Terminal (opens new window) 这篇文章):
# 其中的 http://127.0.0.1:1080 改成自己的代理地址

# mac
export ALL_PROXY='http://127.0.0.1:1080'

# windows
set http_proxy='http://127.0.0.1:1080'
set https_proxy='http://127.0.0.1:1080'
2
3
4
5
6
7
8
可以根据需要到自己的 shell 配置文件(如 ~/.bashrc、~/.zshrc)中,封装成函数,以便更方便地控制启用。
# ~/.zshrc
function proxyon() {
  export ALL_PROXY='http://127.0.0.1:1080'
}

function proxyoff() {
  unset ALL_PROXY
}

# (启动 shell 时)直接运行 proxyon,启用代理
proxyon
2
3
4
5
6
7
8
9
10
11
测试代理的连通性,可以在 terminal 中尝试用 curl 命令访问网站:
curl google.com
# curl zhihu.com
# curl baidu.com
2
3
如果能成功返回 HTML 结果,而不是无响应或错误信息,即说明配置有效:
<HTML><HEAD><meta http-equiv="content-type" content="text/html;charset=utf-8">
<TITLE>301 Moved</TITLE></HEAD><BODY>
<H1>301 Moved</H1>
The document has moved
<A HREF="http://www.google.com/">here</A>.
</BODY></HTML>
2
3
4
5
6
# Homebrew
从命令行中安装工具和软件
MacOS 生态有中有一个名为 Homebrew (opens new window) 的命令行工具(需要额外安装)
它类似 Linux 中的 apt 或 yum,Windows 中的 Chocolatey (opens new window)。
或类似 Node.js 的 npm、Python 的 pip、PHP 的 composer …
虽然上述各种工具是不同生态中的不同工具,但它们有一个共同点:通过命令行安装其他程序。不需要再通过浏览器手动点击下载,软件环境的配置过程能够更方便和高效。
# 安装 Homebrew
(可以先调整好代理,这样 brew 的下载速度可能会更快。)
安装 Homebrew (opens new window):
/bin/bash -c "$(curl -fsSL https://raw.githubusercontent.com/Homebrew/install/HEAD/install.sh)"
安装完成后在命令行中键入命令 brew,将会打印 brew 自带的帮助文档:
Example usage:
  brew search TEXT|/REGEX/
  brew info [FORMULA|CASK...]
  brew install FORMULA|CASK...
  brew update
  brew upgrade [FORMULA|CASK...]
  brew uninstall FORMULA|CASK...
  brew list [FORMULA|CASK...]

Troubleshooting:
  brew config
  brew doctor
  brew install --verbose --debug FORMULA|CASK

Contributing:
  brew create URL [--no-fetch]
  brew edit [FORMULA|CASK...]

Further help:
  brew commands
  brew help [COMMAND]
  man brew
  https://docs.brew.sh
2
3
4
5
6
7
8
9
10
11
12
13
14
15
16
17
18
19
20
21
22
23
然后我们尝试使用,例如 node 的安装卸载:
brew install node
brew uninstall node
brew upgrade node
brew info node
2
3
4
brew 整合了 formula(针对命令行工具如 node) 和 cask(针对 GUI 软件如 visual-studio-code)。
brew install node
brew install visual-studio-code
brew list
brew list --formula
brew list --cask
2
3
4
5
# (可选)安装 brew-cask-upgrade
brew-cask-upgrade (opens new window) 是 brew upgrade --cask 的社区增强版工具。cask 默认的升级策略是跳过那些本身自带更新功能的软件,而 cu 的管理更细致。
# 小贴士:软件仓库
上述提到的管理工具本身都是下载管理工具,它们不保存第三方软件的安装包,而只是维护下载地址。如果某软件的下载地址不在维护列表内,无法检索到也就无法安装了。
这时候就需要设置额外的地址进行下载安装。
(一般会借助 sh、wget、curl 等命令进行下载和安装)
例如在 Ubuntu 中安装 Node.js:
sudo apt-get install -y nodejs
默认的 apt 源并不维护最新的 Node.js 版本,所以如果需要安装较新的 Node.js 16,就需要进行额外配置(参考 Installation instructions - NodeSource (opens new window) 这篇文章):
curl -fsSL https://deb.nodesource.com/setup_16.x | sudo -E bash -
sudo apt-get install -y nodejs
2
# 打造趁手的终端
个人使用的命令行基本作业环境是:iTerm2 + zsh + oh-my-zsh,来代替 MacOS 自带的 Terminal.app + bash 方案。
(另一个流行的配置集是:Spaceship ZSH (opens new window))
- iTerm2 (opens new window):一个 terminal
brew install iterm2
- zsh (opens new window):一个 shell
brew install zsh- (安装完后会自动生成启动配置文件
~/.zshrc,可以在这个文件中进行深入定制)
- Oh My Zsh (opens new window):一个流行的 zsh 配置集
sh -c "$(curl -fsSL https://raw.githubusercontent.com/ohmyzsh/ohmyzsh/master/tools/install.sh)"
- zsh-syntax-highlighting (opens new window):命令语法高亮插件
- (这个是较新的版本,brew 源较旧)
git clone https://github.com/zsh-users/zsh-syntax-highlighting.git ${ZSH_CUSTOM:-~/.oh-my-zsh/custom}/plugins/zsh-syntax-highlighting - 修改
~/.zshrc文件plugins=([...] zsh-syntax-highlighting)
- (这个是较新的版本,brew 源较旧)
- zsh-autosuggestions (opens new window):根据 history 的自动补全插件
- (这个是较新的版本,brew 源较旧)
git clone https://github.com/zsh-users/zsh-autosuggestions ${ZSH_CUSTOM:-~/.oh-my-zsh/custom}/plugins/zsh-autosuggestions - 修改
~/.zshrc文件plugins=([...] zsh-autosuggestions)
- (这个是较新的版本,brew 源较旧)
接着可以参考我的另一篇文章 Mac 和软件,安装一些其他的工具。

